🚀 Deployment
You can deploy the two built-in pilpelines (Extraction, Categorization) in a Cloud services like AWS, Azure, GCP, etc or even HuggingFace in form of a REST API.
With the help of Flask,FastAPI, then use this API in your application (Gradio, Streamlit, React-Frontend, etc).
Deploying Your FastAPI Applications on Huggingface Via Docker
Note that the LLMs used are medium size models and for good experience you may need to a L4 GPU instead of the free CPU provided by HuggingFace.
Step 1: Create a new Docker Space
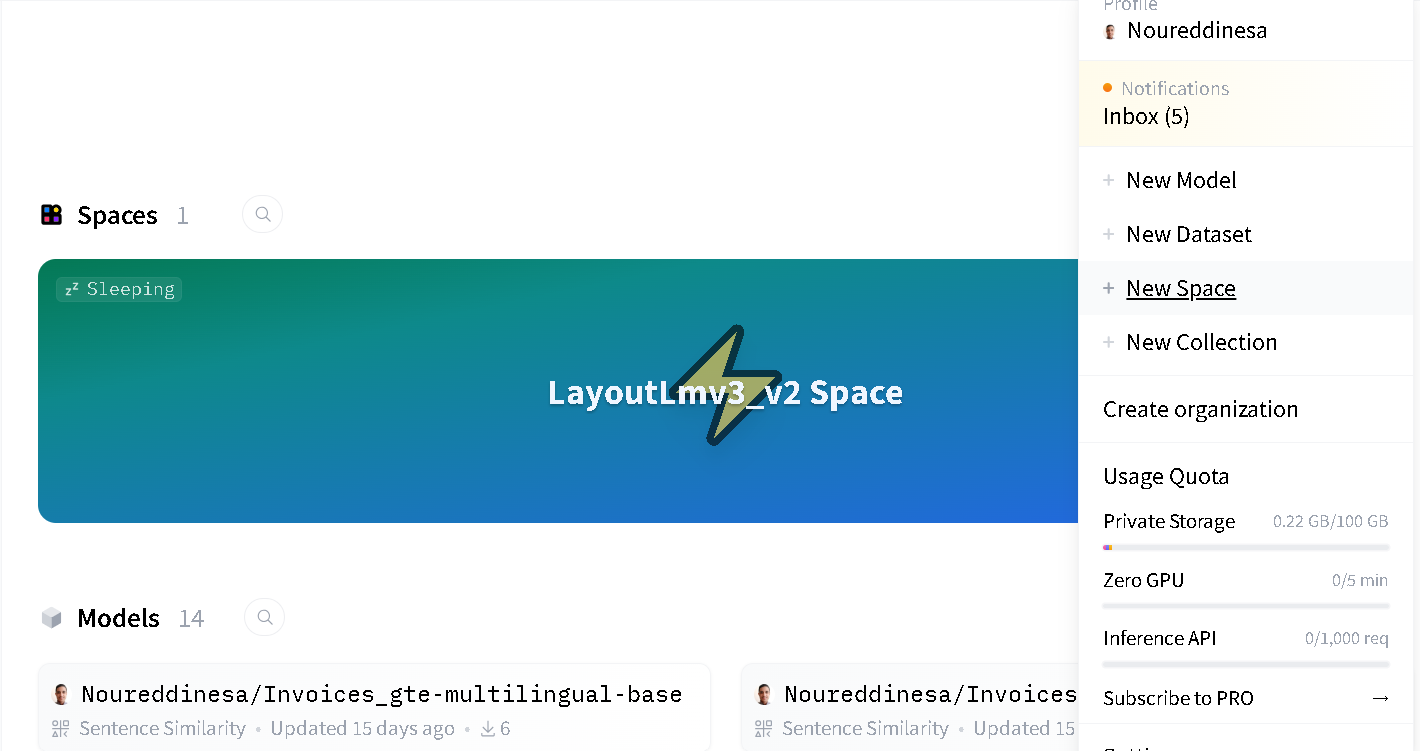
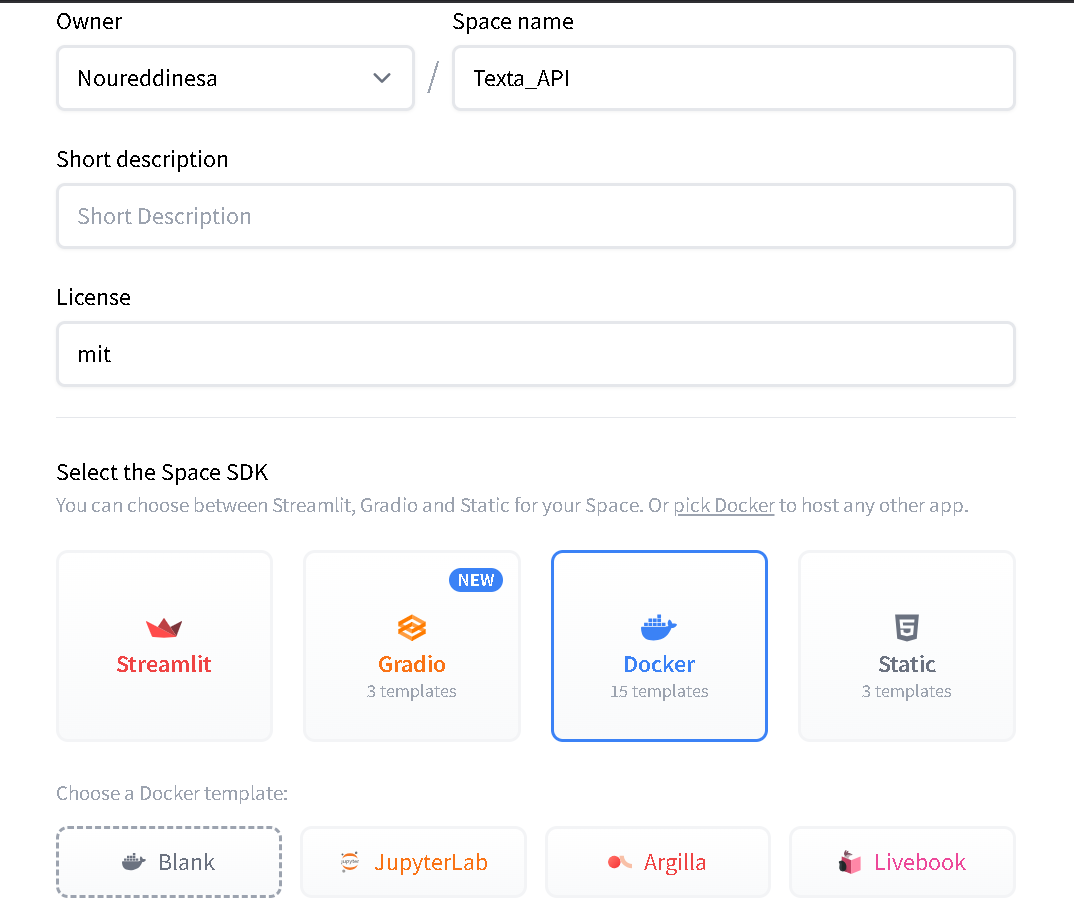
Next, you can choose any name you prefer for your project, select a license, and use Docker as the software development kit (SDK). There are many docker templates available which you can choose from. I’ll start with a blank docker template. Then click on the Create Space button.
Step 2: Set Up Your FastAPI Application
Refer to the FastAPI documentation here if you dont’t have any previous experience with FastAPI.
in a file router.py, build your routes for example:
/extraction:Accept a POST request with base64 encoding of the Invoice, that you should save it in file because PaddleOCR only accepts file image as input.
Returns a json response with the extracted informations.
/categorization:Accept a POST request with base64 encoding of the Invoice, that you should save it in file because PaddleOCR only accepts file image as input.
Returns a json response with the appropriate Debit Account ID.
requirements.txt
Lists the dependencies of the Python project or application.
Used by the Dockerfile to install required libraries.
Textra/router.py
A Python script that contains the implementation of the FastAPI app.
Handles the routes and logic for the application.
Textra/ConfigEnv.py
A Python script for managing environment variables.
Ensures secure and configurable access to sensitive settings.
Dockerfile
Defines the steps to build the Docker container for the app.
Sets up the environment, installs dependencies from requirements.txt, and runs the router.py script.
Step 3: The Dockerfile
In this step, we will write a Dockerfile that sets up a Python 3.9 environment, installs the packages listed in requirements.txt, and starts a FastAPI app on port 7860.
The complete Dockerfile
# Use the official Python 3.10.9 image
FROM python:3.10.9

# Copy the current directory contents into the container at .
COPY . .

# Set the working directory to /
WORKDIR /

# Install requirements.txt
RUN pip install --no-cache-dir --upgrade -r /requirements.txt

# Start the FastAPI app on port 7860, the default port expected by Spaces
CMD ["uvicorn", "app:app", "--host", "0.0.0.0", "--port", "7860"]
Once you commit this file, your space will switch to Building, and you should see the container’s build logs pop up so you can monitor its status.
If you are using Ollama refer to here To see how to use Ollama as a Docker image.
Step 4: Using the application 🚀
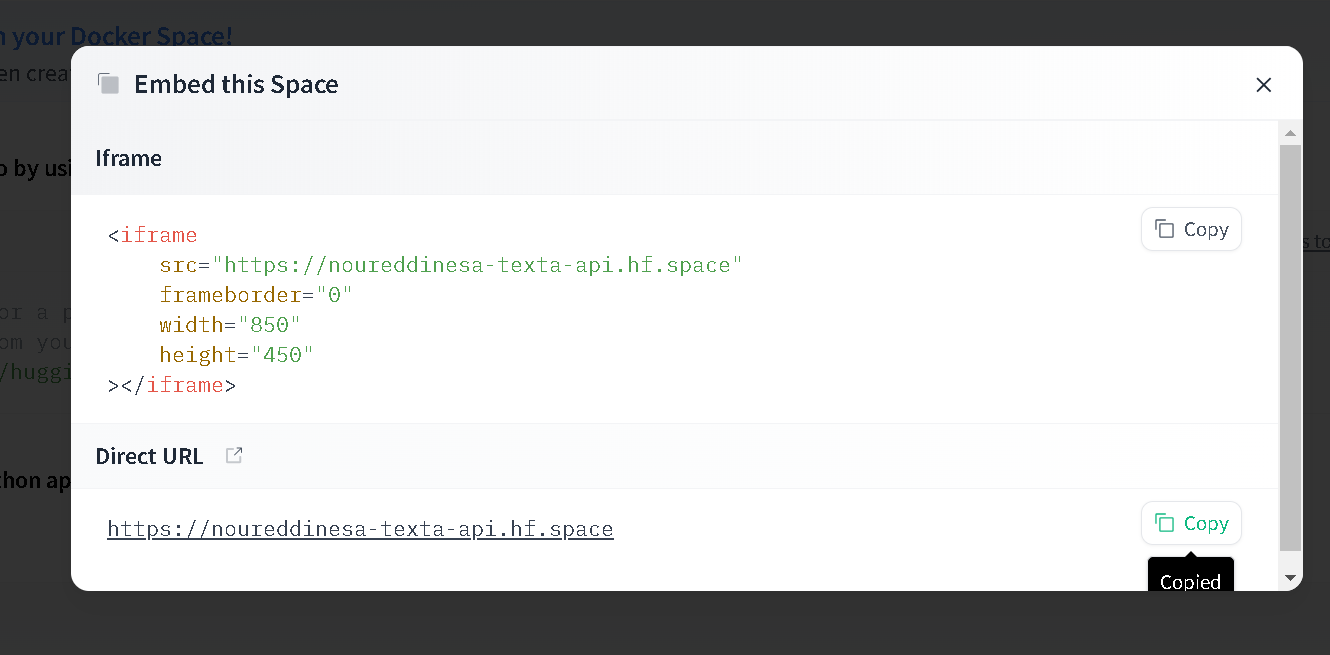
If all goes well, your space should switch to Running once it’s done building. Once the Building is finished, you can use the deployed app as shown in the picture. Click on Embed this space.

Copy the link provided in the Direct URL and paste it into a new browser tab.